
Reviewed · BALINESE CRAFT & ART WORKSHOPS
Outskirts of Ubud, Gianyar: Pottery Class
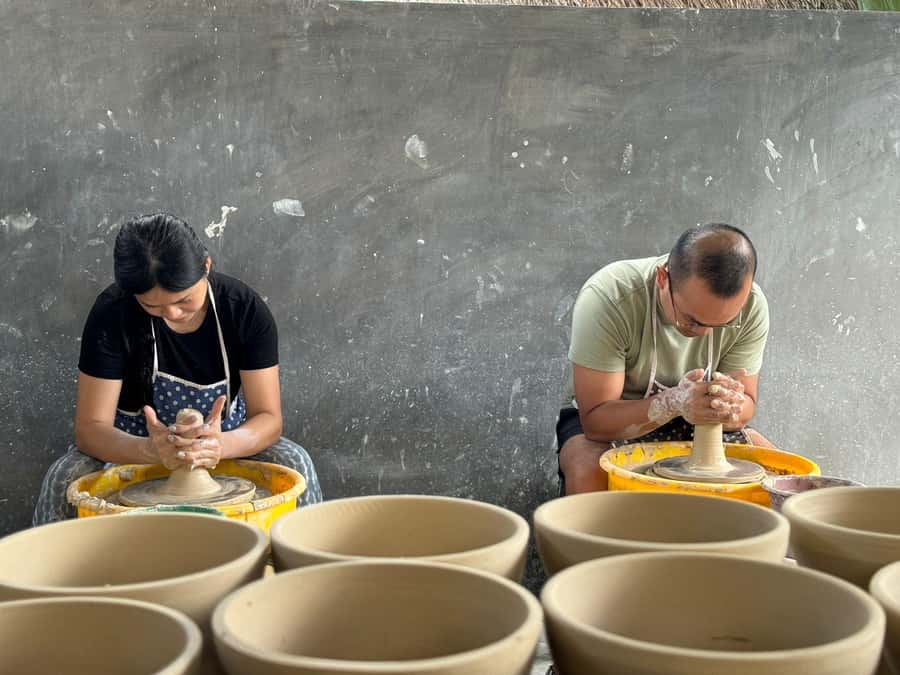
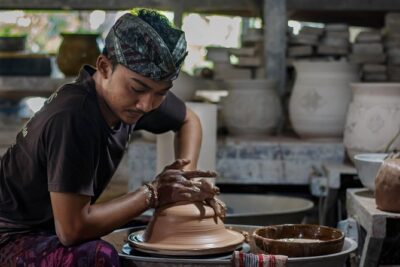
Clay turns into something you can take home. This pottery class on the outskirts of Ubud (Gianyar) is built for beginners, with handbuilding and wheel techniques in the same 3-hour session. You also get the fun part at the end: you can paint your own piece, so it feels personal instead of copy-and-copy.
I especially like that the lesson isn’t just show-and-tell. You’re taught how the clay feels in your hands first, then you move to the wheel with real guidance, and the studio handles the messy finishing work like firing and glazing. One thing to consider: the studio can be tricky to spot because it’s in a backyard setting behind a house, so you’ll want to plan for help finding it.
For the price, you’re paying for more than time at a bench. You get 2 kg of clay split between the handbuilding and wheel parts, tools and wheel access, water, firing, and a glaze layer to finish. It’s a 3-hour private group class taught in English and Indonesian, and it’s a nice low-stress creative break from Bali’s daily driving.
In This Review
- Key Points You’ll Care About Before You Go
- Ubud Pottery Class on the Outskirts: What Makes This One Practical
- How the 3-Hour Class Flows: Handbuilding to Wheel to Paint
- Stage 1: Handbuilding and Learning the Clay’s Feel
- Stage 2: Pottery Wheel Technique (and How Not to Panic)
- Stage 3: Painting Your Pieces
- What’s Included in the Price (and Why It Matters)
- Instructor and Studio Vibe: The Kindness Factor
- Where It’s Located and How to Avoid the Find-It-Yourself Trap
- Who This Pottery Class Is Best For
- What to Bring (So You Don’t Get Stuck)
- Timing Tips: Drying, Returning, and When to Book
- Should You Book This Ubud Pottery Class?
- FAQ
- How long is the pottery class?
- What techniques do you learn during the course?
- Do you get to paint your pottery?
- What’s included in the price?
- What should I bring?
- Is the class suitable for young children?
Key Points You’ll Care About Before You Go
- Handbuilding first, wheel second: you learn texture and shape-making before the wheel tests your patience
- Two pieces potential from one session: you’re guided to make items like cups, bowls, or vases on the wheel
- Painting is optional but encouraged: you can add your own look after the forming and learning
- Firing and glazing are included: your clay doesn’t stay stuck at the classroom stage
- Studio location takes planning: it’s reportedly set in a backyard area behind a house, so contact the organizers early
Batik wax, wet clay and carving chisels, hands-on.
- Crafting Heritage Batik Painting Workshops★ 5.0 · 164 reviews
- Ubud: Ceramic Pottery Class with 2 kg Clay★ 4.8 · 91 reviews
- Outskirts of Ubud, Gianyar: Pottery Class★ 5.0 · 9 reviews
- 3 Hours Wheel Throwing Basic Ceramic Class★ 4.0 · 3 reviews
Ubud Pottery Class on the Outskirts: What Makes This One Practical
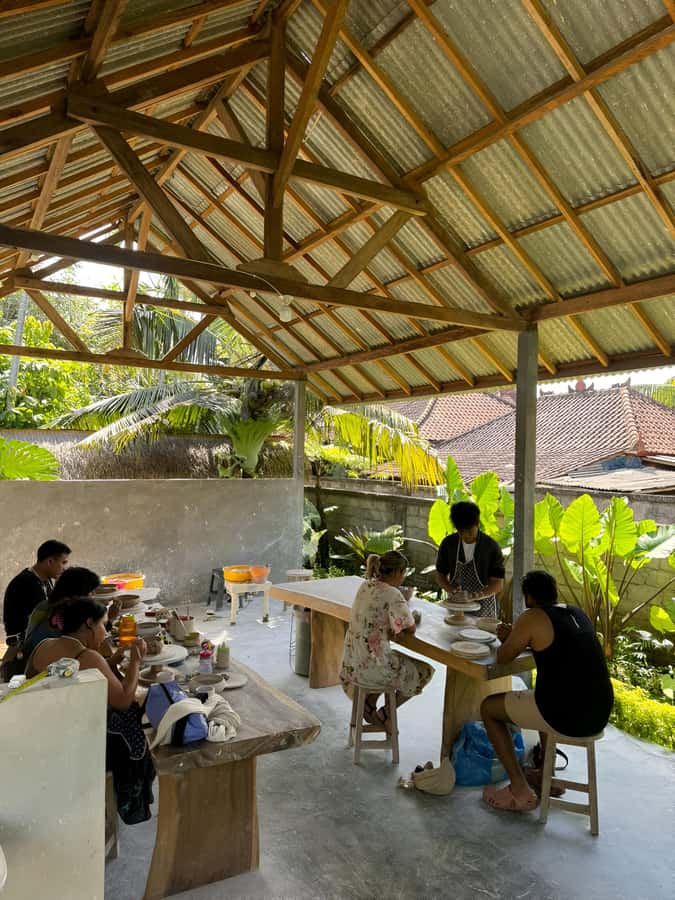
Ubud gets all the headlines for yoga and art shops, but this pottery class gives you something more hands-on than browsing. It runs in the outskirts of Ubud in Gianyar, which matters because you’re trading crowds for a calmer studio feel. Based on what people describe, the setting has greenery around the work area, and that makes a big difference when you’re focused on something slow and physical like clay.
You’re also not signing up for a quick tourism stop. The format is structured: you start with handbuilding, then shift to the pottery wheel, and finally you have time to paint your pieces. That flow is ideal if you’re a first-timer. If you start straight on the wheel, it can feel frustrating fast. Here, you build confidence with your hands first, then tackle the wheel with a better sense of how clay behaves.
The “private group” setup is another value point. You’re not stuck watching a teacher help five people while you wait. Your instructor can guide your hands, correct your technique, and keep things moving at a pace that makes sense for beginners. People also mention patient, helpful teaching, including support when they had questions.
How the 3-Hour Class Flows: Handbuilding to Wheel to Paint
This course is timed to feel complete without being exhausting. In 3 hours, you’ll do three stages: handbuilding, wheel practice, and optional painting, with the studio taking care of firing and glazing after.
Stage 1: Handbuilding and Learning the Clay’s Feel
You begin with a handbuilding lesson. That’s the part many people underestimate. Handbuilding isn’t just “making something with your hands.” It’s your chance to learn the basic reality of clay: it needs the right touch, the right amount of water, and the right pressure at the right time.
The class is designed to teach you texture and feel first. You work on forming shapes and adding detail that can be hard to do later on the wheel. It’s a smart early step because it teaches you control: how clay compresses, how it holds (or doesn’t hold) a line, and how small changes can change the final shape.
A nice plus here is that handbuilding also makes the class feel more like art-making and less like a test. Even if your shape isn’t perfect, you’re learning fundamental skills you can reuse.
Other Ubud tours and experiences to line up next




Stage 2: Pottery Wheel Technique (and How Not to Panic)
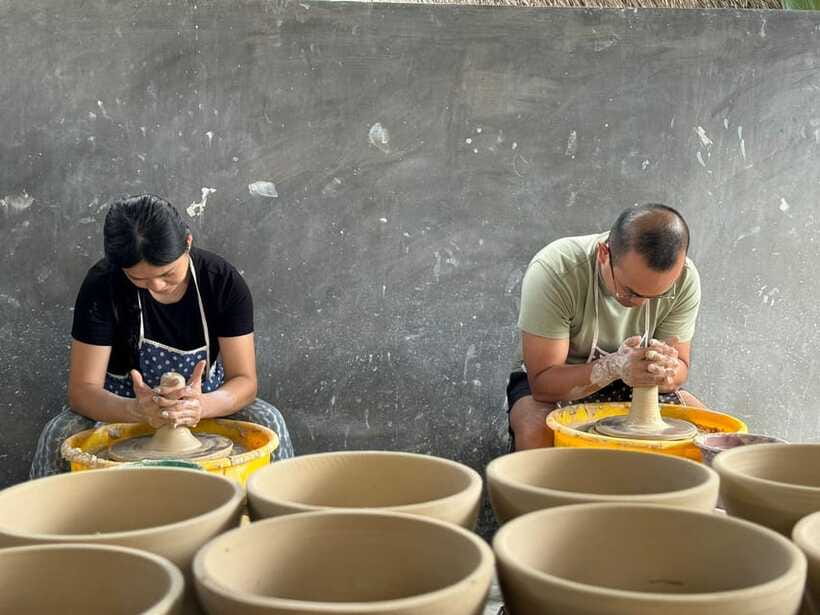
After handbuilding, you switch to wheel technique. The wheel part can look intimidating, but the whole point of this format is to guide you through it so it feels doable.
On the wheel, the most common things you make are typically cups, bowls, and vases. Even if you choose a different outcome, the teaching is still about the same core mechanics: centering clay, building walls, and refining the form without overworking it.
This is where having an experienced instructor matters. People mention teachers who keep the session chilled but informative, and who help if you get stuck. If you’re worried you’ll waste your time, this stage should put you at ease. The wheel is learnable with coaching, and the class is built around that idea.
Stage 3: Painting Your Pieces
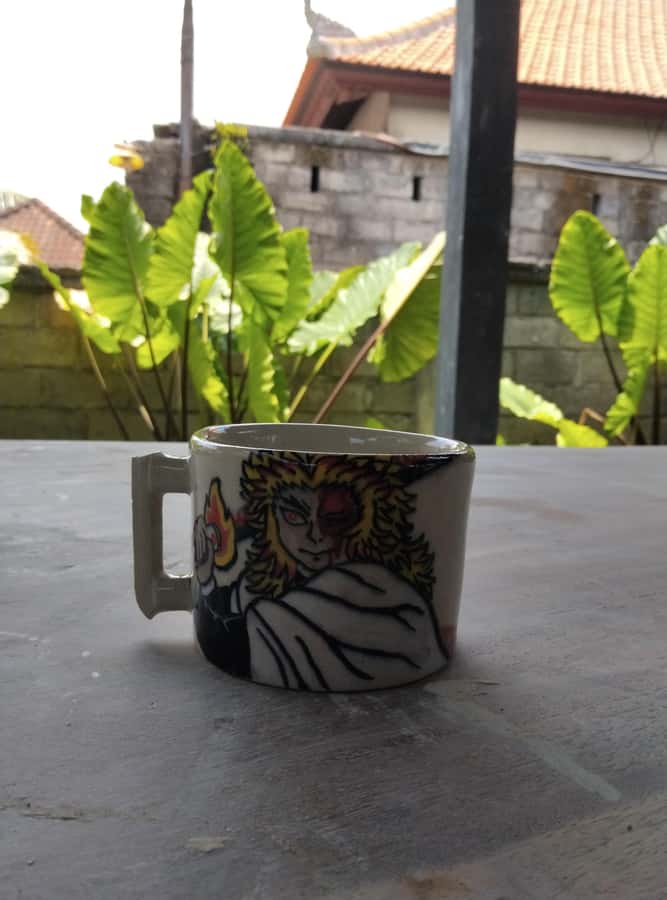
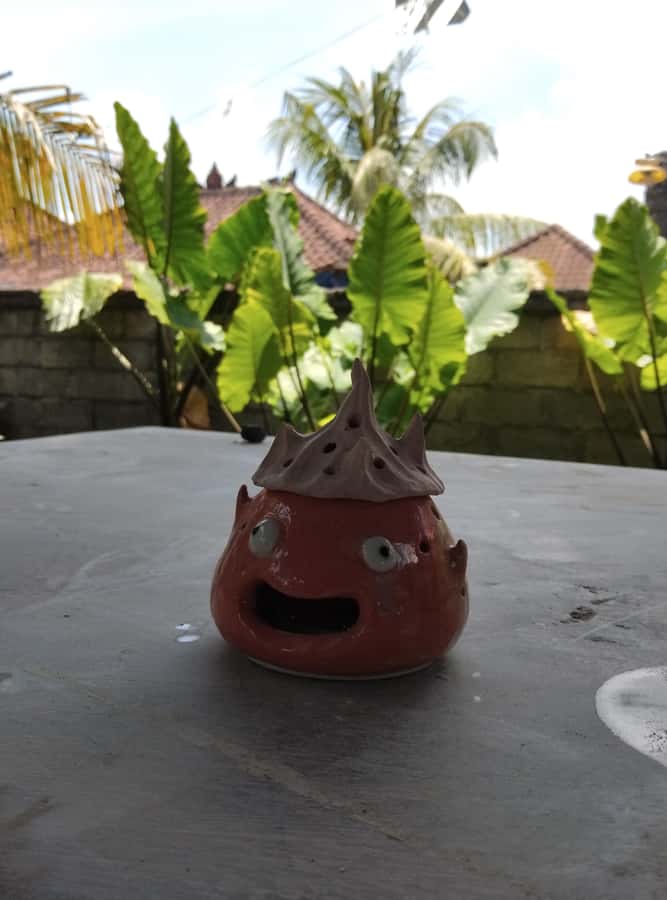
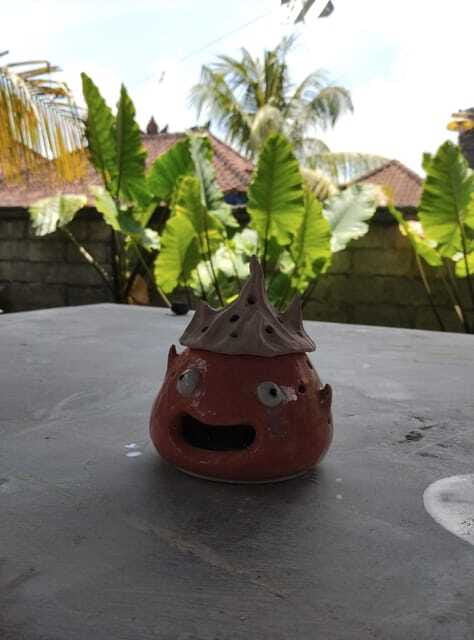
Once your forms are done, you get the choice to paint your pieces. This is the creative payoff. Clay work is tactile and physical, but painting lets you decide the look: patterns, colors, and finishes that match your taste.
This is also where you’ll appreciate that the studio includes a glaze layer for finishing touches. Glazing is what makes ceramics more durable and gives that “finished pottery” look, not just a handmade clay object.
A practical note: painting and drying are part of the process, and you’ll want to think ahead if you’re flying soon after the class. One strong piece of advice that comes up is to book the class at least about 5 days before departure so your pieces have time to dry at the studio and you’re not stuck with a last-minute uncertainty.
What’s Included in the Price (and Why It Matters)
The class costs $40 per person and runs 3 hours. That price is more reasonable when you look at what’s covered.
Here’s what’s included:
- 2 kg of clay, split between the handbuilding and wheel parts
- Tools and pottery wheel access
- Water provided (you just bring your own reusable bottle)
- Firing for your pieces
- Glaze layer for finishing
What’s not included:
- Water bottle and cups
For real-life value, the big points are firing and glaze being included. A lot of pottery experiences are cheap until you learn that kiln work and finishing are extra costs or require return trips. Here, the core “make it look like finished ceramics” steps are part of the package.
Also, you’re not just paying for one technique. You’re paying for handbuilding training plus wheel practice plus the chance to paint. That’s a lot of craft time for a short visit.
Instructor and Studio Vibe: The Kindness Factor
This is one of those experiences where the teacher can make or break your confidence. The good news is that instructors here are described as patient and supportive.
Names show up in feedback: Wigus and Putra. Both are described as giving what you need to start, explaining necessary steps, and offering help when questions pop up. That matters because clay work punishes rushing. If you feel hurried, your hands tense up. A patient instructor keeps things steady.
You’ll also hear how people ended up with a real handmade piece and a better sense of Balinese culture through the craft process. Even if you’re just doing this for fun, you’ll likely walk away with a deeper appreciation for the work behind pottery—not only the art, but the care.
The studio itself is reportedly peaceful and green, but also tucked away. That mix can be great once you find it. It just means you should not assume you can walk in easily without directions.
Where It’s Located and How to Avoid the Find-It-Yourself Trap
The main logistical hiccup is the studio location. People describe it as being not so easy to find, in a backyard area behind a house.
Here’s the practical approach:
- Message ahead so the organizers can guide you to the right spot
- If you’re using a taxi driver, add extra buffer time
- If directions are unclear, request a pickup arrangement at the roadside if that option is available through the organizers
One review notes that when they got late due to wrong turns, the instructor still let them start, and the schedule stayed flexible. That suggests it’s worth communicating rather than guessing your way in.
If you plan to drive yourself, remember that the “outskirts of Ubud” label can cover a lot of roads. The right map pin and a clear contact plan matter more than usual.
Who This Pottery Class Is Best For
This is a great fit if you want a creative activity that’s not overly intense or physically demanding. You’re working seated and using your hands, which makes it friendly for many people—even those who think they have zero artistic ability.
You’ll also like it if:
- You want two different pottery skills in one session
- You like making souvenirs you actually contributed to
- You want a calmer activity with a teacher guiding every step
It’s also popular with teens. One family mentioned a 15-year-old enjoying it a lot, so it can work for older kids who are ready to listen and try.
On age limits: it’s not suitable for children under 5. If you’re bringing children under 10, they should be accompanied by an adult.
What to Bring (So You Don’t Get Stuck)
Keep it simple:
- Bring a reusable water bottle
Water is provided, but you’ll be more comfortable if you have your own bottle. Clay sessions can make you thirsty, and it’s just easier to stay hydrated.
Also consider wearing clothes you don’t mind getting a little messy. Clay and water are part of the process, and small splashes happen.
Timing Tips: Drying, Returning, and When to Book
Even though the class itself is 3 hours, pottery doesn’t complete in 3 hours. Firing, glazing, and drying all take time at the studio.
That’s why booking with buffer matters. A specific piece of timing advice you can use: book at least around 5 days before your departure. That’s enough time to let pieces dry at the studio and reduce stress if you’re leaving Bali soon after.
If you’re doing other Ubud day trips, try not to schedule this pottery class as your final activity. Give it time to finish properly so you can actually enjoy the finished result rather than rush the process.
Should You Book This Ubud Pottery Class?
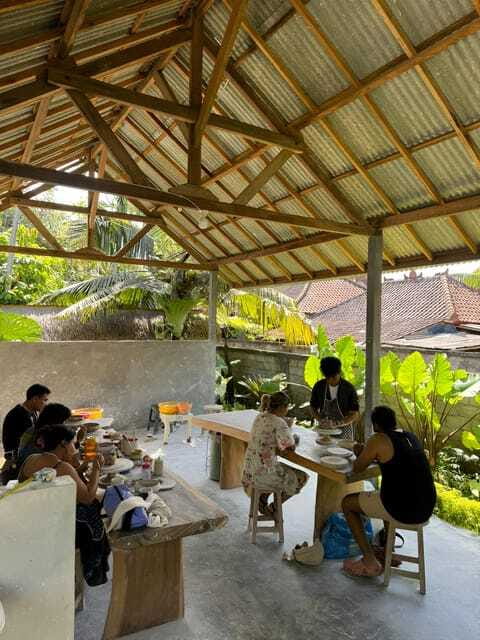
I think it’s a strong booking when you want a hands-on craft experience that’s beginner-friendly and structured. The combination of handbuilding + wheel technique means you’re not stuck doing only one thing, and the option to paint helps you leave with something that feels like your own.
Book it if:
- You want an easy creative break with a patient instructor
- You like the idea of making (and finishing) pottery without extra work on your end
- You can plan for a little extra drying time after the class
Skip it if:
- You’re very short on time with no buffer before you leave Bali
- You hate activities where finding the location might require extra guidance
If you do book, send a message early so you can find the studio smoothly. And if you’re making plans, treat this as a real workshop with follow-through, not just a quick hands-on demo. You’ll get more out of it—and your finished ceramics will feel like a souvenir worth keeping.
FAQ
How long is the pottery class?
The class lasts 3 hours.
What techniques do you learn during the course?
You start with a handbuilding class, then you move to wheel technique.
Do you get to paint your pottery?
Yes. After the handbuilding and wheel parts, you have the option to paint the pieces.
What’s included in the price?
The class includes 2 kg of clay (divided for handbuilding and wheel), tools and the pottery wheel, water, firing, and a glaze layer.
What should I bring?
Bring a reusable water bottle.
Is the class suitable for young children?
It’s not suitable for children under 5. For children under 10, an adult should accompany them.
Hands-On in Ubud




More Ubud Tours We Rate





Batik, Clay & Carving



Just added around Ubud
- Ubud: White Water Rafting with visit Ubud Monkey Forest
★ 5.0 · 3 reviews - Private Guided Bali Car Charter
★ 5.0 · 3 reviews - East Bali and Lempuyang Temple Tour
★ 5.0 · 3 reviews - Bali Downhill Cycling and White Water Rafting
★ 5.0 · 3 reviews - Cave Tubing Adventure in Ubud
★ 5.0 · 3 reviews
Balinese Craft & Art Workshops, compared.
 ★ 5.03 Hours Batik Making Classes in UbudFrom $26203 reviews
 ★ 5.0Crafting Heritage Batik Painting WorkshopsFrom $29164 reviews
 ★ 4.8Ceramic Pottery Class with 2 kg ClayFrom $3691 reviews
 ★ 4.03 Hours Wheel Throwing Basic Ceramic ClassFrom $503 reviews
Browse the lists this tour appears in