
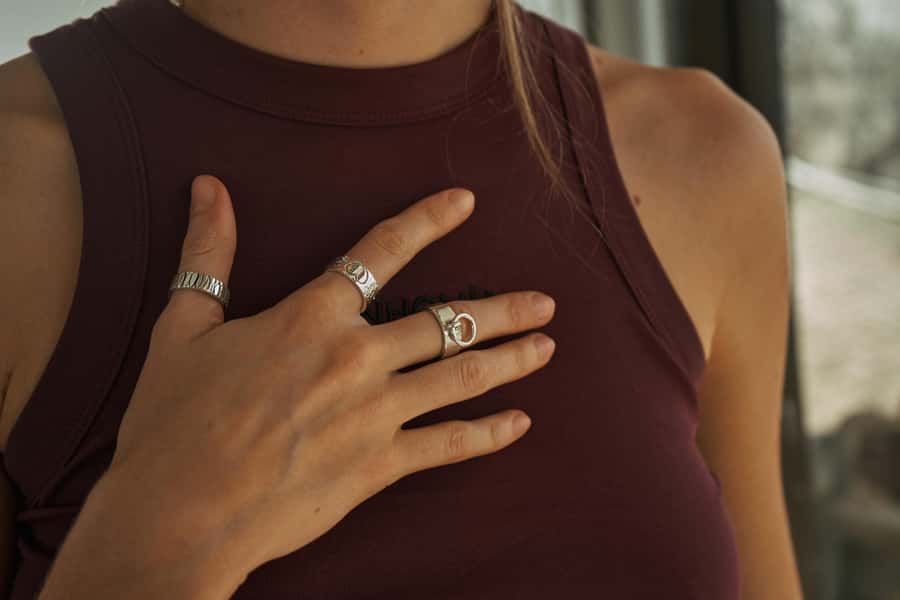
Reviewed · MONKEY FOREST TOURS
Hands-On Silver Jewelry Making Near Ubud’s Monkey Forest
Silver starts as a lump of grey. In Ubud, you turn that into wearable art with an experienced silversmith.
What I like most is the hands-on bench time: you melt, shape, and finish your piece with real guidance, not just watching. I also love that the class is built around a clear “make one thing” goal, with up to 5 grams of silver included for your final take-home jewelry. One thing to consider: this isn’t a long, academic silversmithing course, so some of the trickier steps may be supported heavily by the workshop team.
In This Review
- Key things to know before you make silver
- Entering the workshop: what the class actually feels like
- Where it’s located
- The one-piece rule
- Picking your jewelry design: catalog browsing with real personalization
- Choose from example styles
- Personalize once you’ve chosen the base
- If you’re thinking of a secret gift
- The bench process: from melting silver to a polished finish
- 1) Materials and tools intro
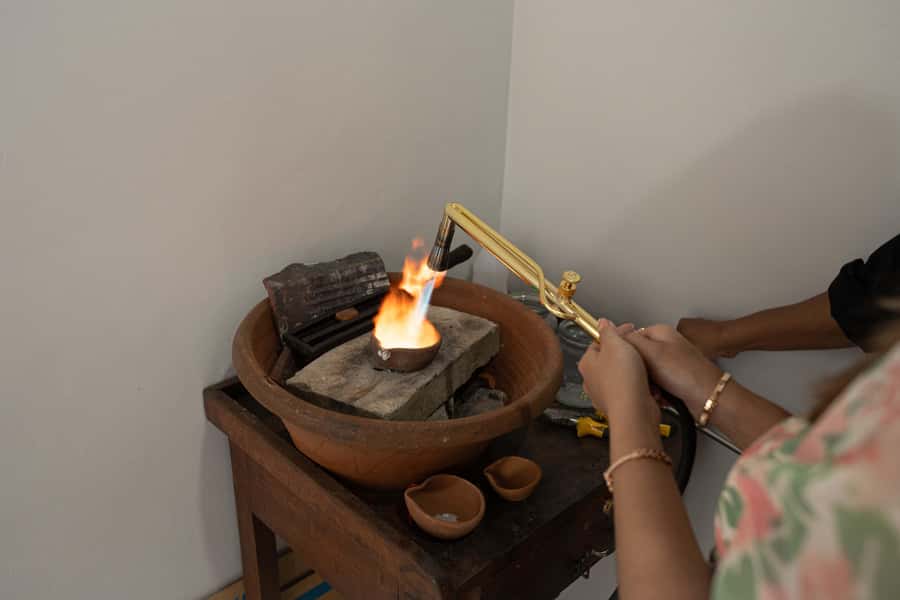
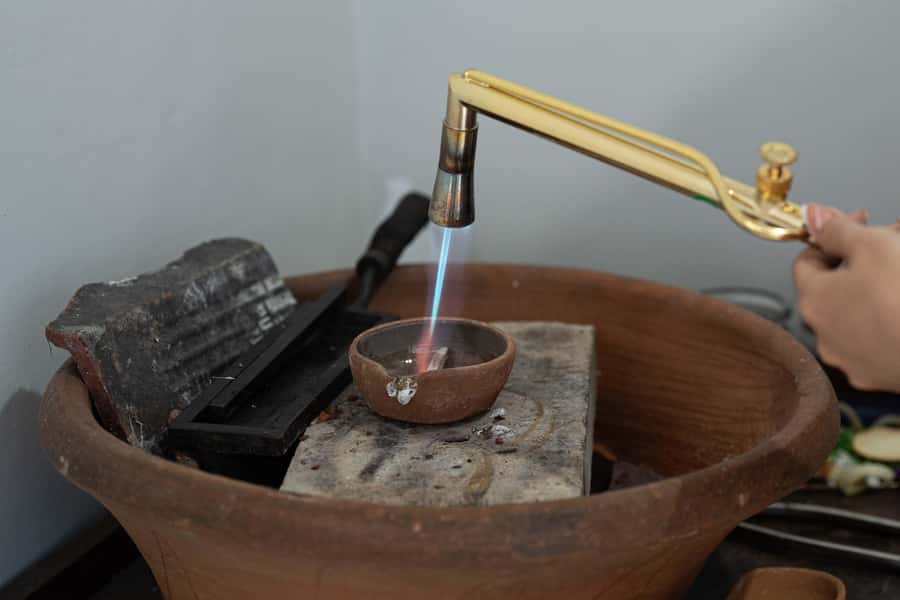
- 2) Melting and shaping the silver
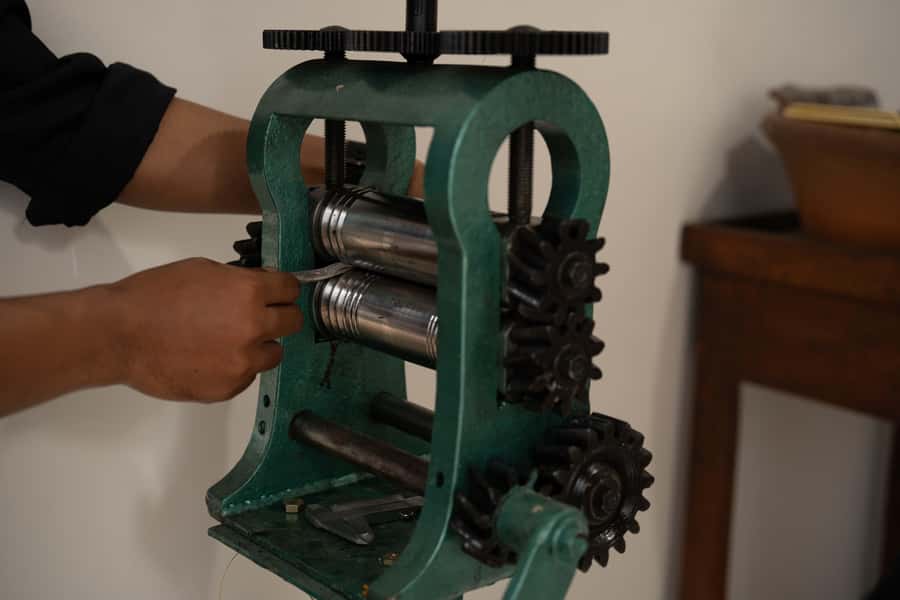
- 3) Forging, grinding, and brazing
- 4) Gem or stone setup (optional)
- 5) Assembly, cleaning, and final polish
- What you might not get
- Timing and how to pick the right design length
- If you want it quick
- If you want something more involved
- Price and value: $28 makes sense, but silver has its own rules
- The 5-gram threshold
- Stones cost extra
- Bring cash for extras
- Is it good value?
- Meeting the silversmith: guidance without taking over
- Language help
- What to wear and bring so you can actually enjoy it
- Wear comfortable clothes you don’t mind getting slightly messy
- Consider bringing:
- No prior experience needed
- Who should book this workshop near Monkey Forest
- If you’re traveling with kids
- Should you book this silver jewelry class in Ubud?
- FAQ
- How long is the silver jewelry making class?
- How much silver do I get for the price?
- What happens if I want more than 5 grams of silver?
- Can I choose my own jewelry design?
- What kinds of jewelry can I make?
- Do I need any experience to take the class?
- What languages are the instructors?
- What’s included and what costs extra?
Key things to know before you make silver
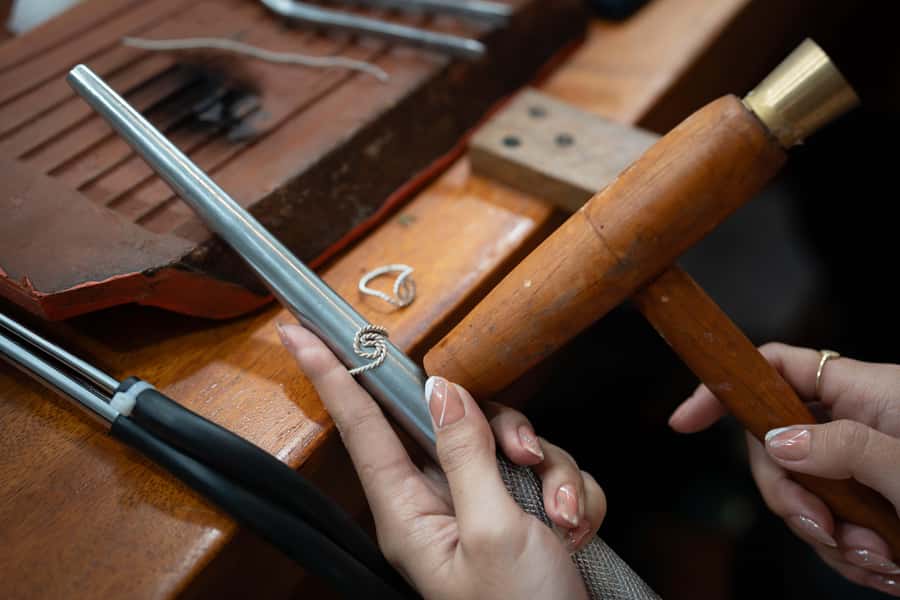
- Up to 5 grams of silver included: you make one finished item (ring, earrings, pendant, and more).
- Real silver-work steps: melting, forging, grinding, brazing, and filling your design with gems are all part of the flow.
- Design choice from a catalog: you pick from example pieces, and you can add personalization if time and your design allow.
- Guides with strong patience: instructors rotate by participant, and many people singled out guides like Nano, Pasta, Wayan Ino, Dek Edi, and Kadek Ber.
- Extra costs are possible: more than 5 grams of silver costs extra, and adding stones/gems can add fees.
- You might get extra polishing: several people noted the staff polished other rings they brought in too, as a helpful bonus.
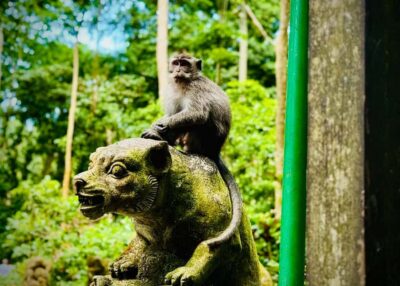
Long-tailed macaques and mossy temple gates, up close.
- Ubud: Monkey Forest, Jungle Swing, Rice Terrace, and Water Temple★ 5.0 · 7,160 reviews
- Ubud: Full-Day Rice Terrace, Monkey Forest & Waterfall★ 5.0 · 2,634 reviews
- Hands-On Silver Jewelry Making Near Ubud’s Monkey Forest★ 4.9 · 1,789 reviews
- Ubud: Monkey Forest, Ceking Rice Terraces and More– Full Day★ 4.7 · 917 reviews
Entering the workshop: what the class actually feels like
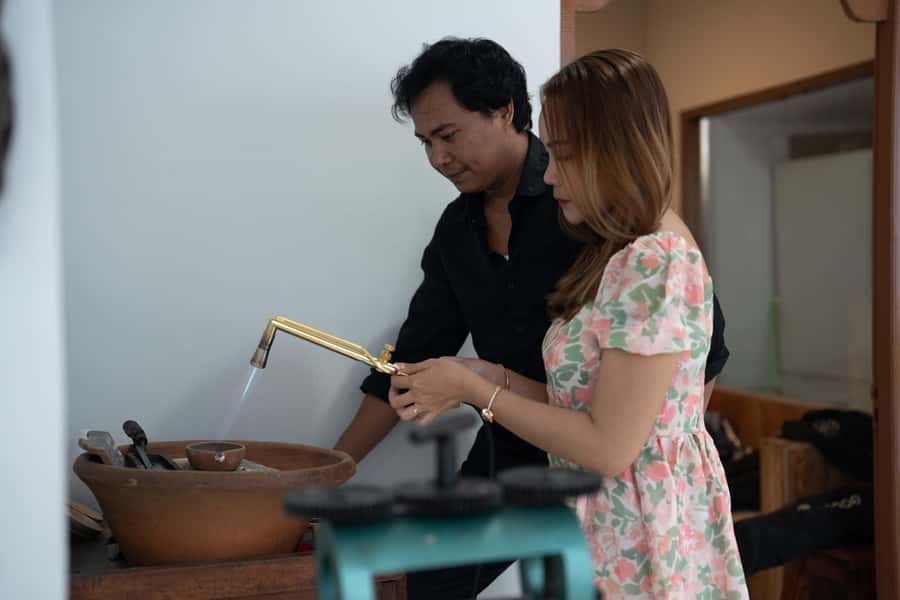
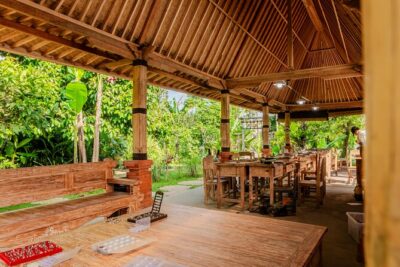
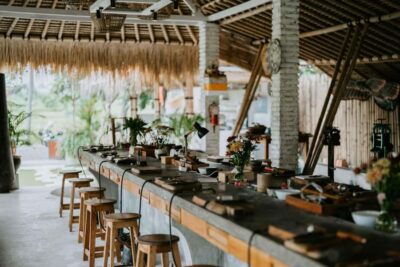
This is a short, focused jewelry-making session in Ubud (about 90 minutes to 3 hours, depending on your design). You start with an introduction to the tools and materials, then you choose a design from the catalog book (and example options). After that, you move step-by-step at the bench.
The vibe is practical and friendly. Small groups are available, and the staff tends to explain what they’re doing while still giving you real responsibility. If you’re the type who enjoys learning by doing, this format works well: you get to create something tangible rather than leaving with just photos.
Where it’s located
The meeting point can vary by booking option, but it’s set up for convenient access around central Ubud—handy if you’re also visiting the Monkey Forest area. If you’re planning a day that includes temple time and monkey time, this class gives you a grounded, creative counterbalance.
The one-piece rule
Each participant can make only one silver jewelry piece. That keeps the class manageable in its time window, but it also means you’ll want to pick your design carefully if you’re hoping to make something specific.
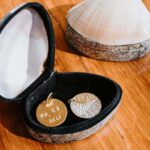
Solder your own Balinese silver ring near the Monkey Forest.
Picking your jewelry design: catalog browsing with real personalization
You don’t need prior experience. The workshop is set up for beginners and intermediate skill levels, so you can go in with a simple idea—or bring a more personal concept if you have one in mind.
Choose from example styles
You’ll peruse designs in the provided catalog book. People mentioned they saw around 50 example pieces and then worked from those models. That’s a big deal for first-timers: you’re not forced into inventing a design from scratch.
Personalize once you’ve chosen the base
Personalization usually means tweaking the style choices you have in the system: ring size, layout, and optional details that fit your selected design. Many guests described making matching rings with stones like moonstone, or creating a unique design with the silversmith’s help.
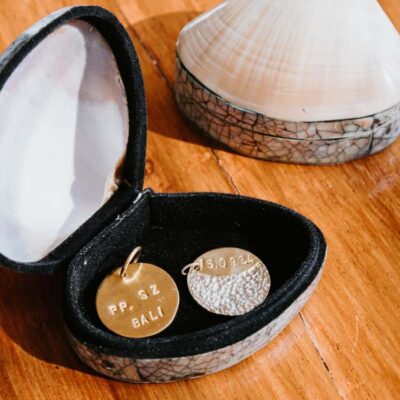
One detail worth calling out: engraving may be possible, including custom lettering. A participant requested Arabic letters for an engraving, and the staff handled it. If you want a message inside a band or a small marking on the piece, ask early so the team can plan it into your allotted time.
If you’re thinking of a secret gift
This is the kind of activity where you can make a meaningful souvenir for someone else. Since each person makes their own piece and you leave with a finished item, it can work nicely for engagements, anniversaries, or just a heartfelt “I did something for you in Bali” moment.
The bench process: from melting silver to a polished finish
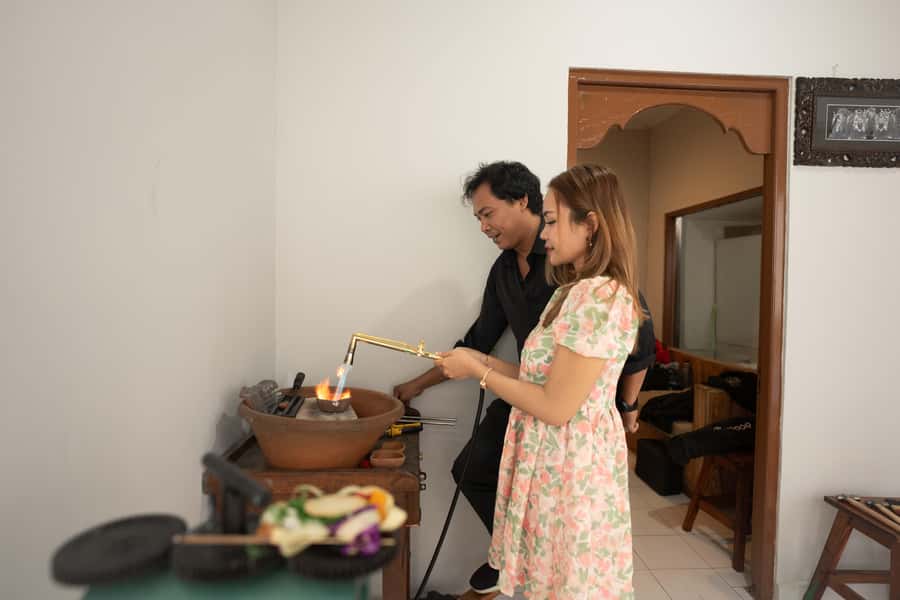
Here’s what the class includes, in the order you’ll likely experience it. The workshop describes the steps like a chain: once you start, you keep moving until you have a completed piece ready to take home.
1) Materials and tools intro
You begin with an overview of what you’ll handle. That matters because you’re not just watching metalwork—you’ll actually work with the materials and learn the “why” in practical terms. Expect guidance on the tools and how to use them safely and efficiently.
2) Melting and shaping the silver
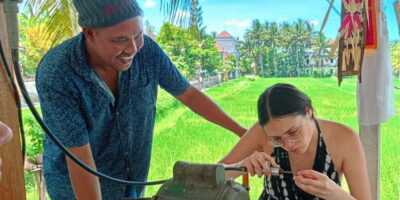
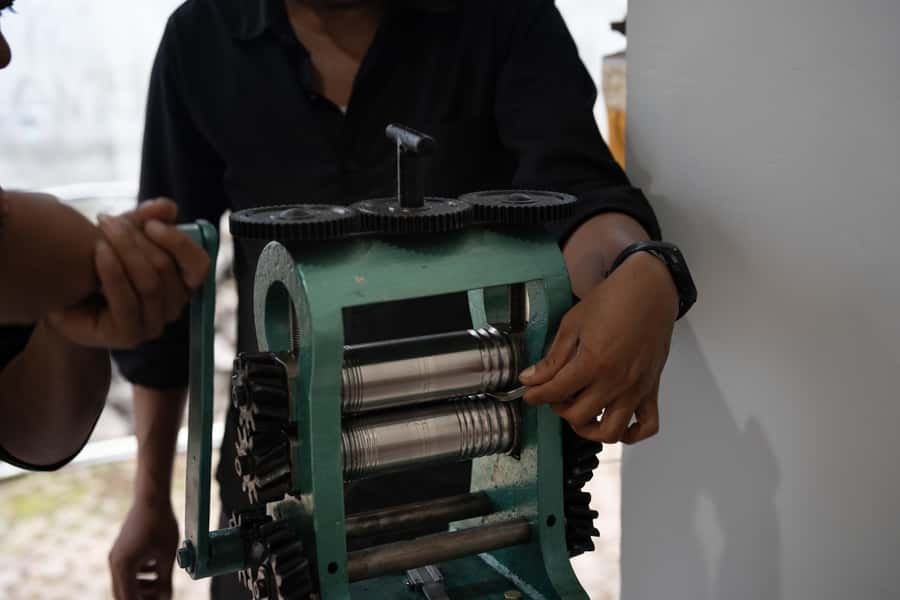
You’ll get hands-on time with melting silver. In most metalwork workshops, the “hard part” is not the end polishing—it’s getting the metal into the right shape and thickness. This class includes shaping and early assembly work with coaching so you’re not left floundering.
3) Forging, grinding, and brazing
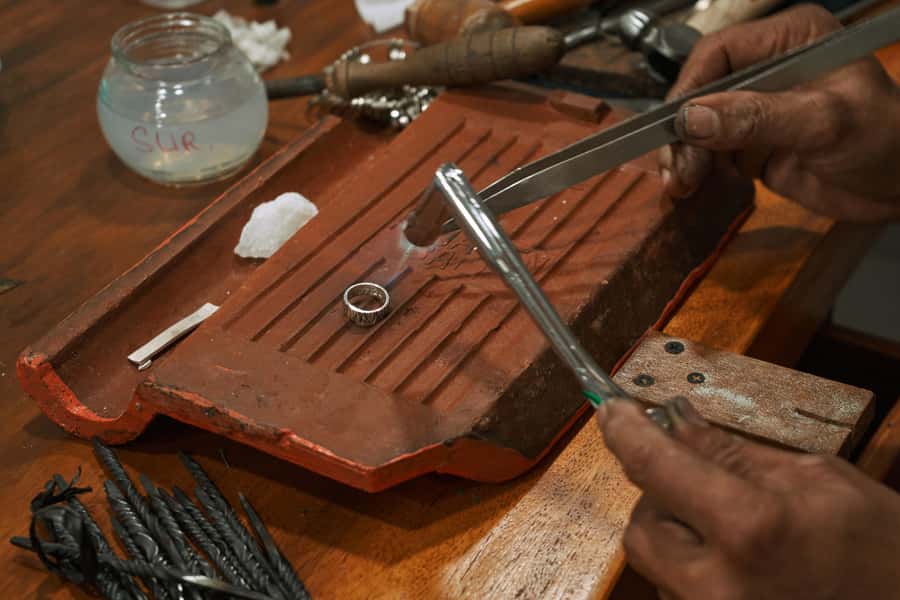
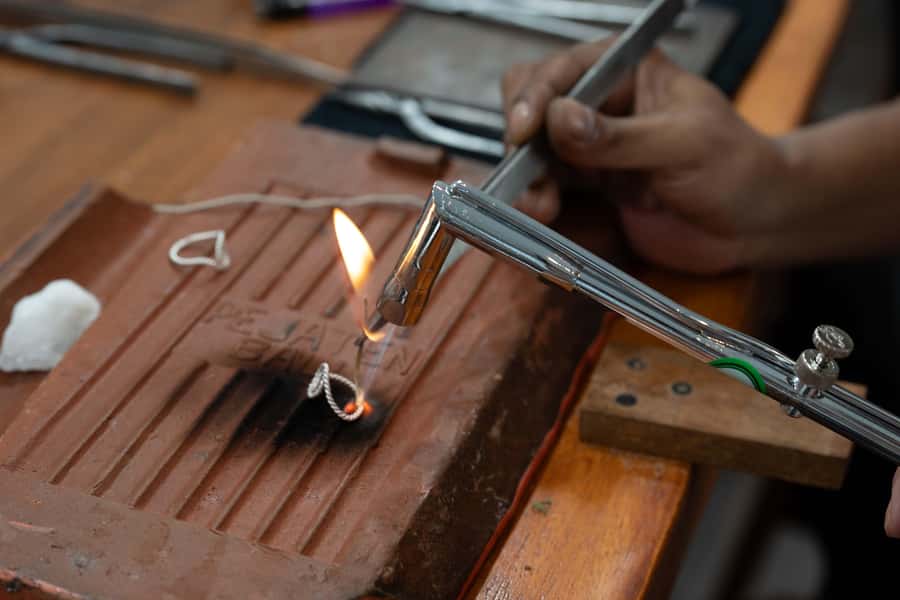
After the shaping phase, you move into steps like forging and grinding. You’ll also do work involving brazing. These steps are where the piece starts to look like jewelry instead of a metal project.
From a value point of view, this is the part you want: if you’re paying for a hands-on workshop, you don’t want it to turn into a craft tour where the staff does everything. The overall feedback shows that guests did their part, while the silversmiths handled the trickier portions when needed.
4) Gem or stone setup (optional)
The workshop describes the possibility of filling your design with gems. If you add stones, there’s an extra charge. Still, it’s a nice option because silver alone can be beautiful, but a small gemstone can make your piece feel more personal and gift-ready.
5) Assembly, cleaning, and final polish
Finally, you get finishing work so the jewelry is wearable. Several people specifically mentioned the team polished not only their finished piece, but also other rings they brought along. That’s not listed as a guaranteed extra, but it’s a consistent theme in feedback—so if you have a favorite ring that needs cleaning, it’s worth bringing it (and asking politely).
What you might not get
One honest consideration: this isn’t a long, theory-heavy workshop. Some people described it as more of a guided ride-along than a full teaching course of everything about metalworking. If you’re hoping for a deep, academic skill progression you can take home to replicate forever, you might find the class a bit too short for that.
But if your goal is a high-quality souvenir you made yourself—plus a genuine look at how the craft works—this format hits the sweet spot.
Timing and how to pick the right design length
The class runs 90 minutes to 3 hours, depending on the jewelry design. That’s not just a scheduling note; it directly affects what you can accomplish.
If you want it quick
Choose a simpler base design. You’ll still get hands-on instruction and a polished result, but you’ll be less likely to run into time limits on extra details like added complexity or extra finishing steps.
If you want something more involved
Choose a design that can plausibly fit the time window. People who came with clearer ideas—like matching rings or a customized style—tended to walk out happy with the result. Just remember: complex design changes need time, and the team will likely steer you toward what’s feasible.
Price and value: $28 makes sense, but silver has its own rules
The price listed is $28 per person, and that includes your instruction plus materials. The big value element is what you receive for that price:
- Silver included: up to 5 grams for your finished piece (ring, earrings, pendant, etc.)
- Guided instruction from an experienced silversmith
- Tools and materials
- A finished item to take home
- A snack and mineral water, plus free Wi‑Fi
Now the part to pay attention to: silver weight rules and extra costs.
The 5-gram threshold
If your jewelry weighs less than 5 grams, the workshop still counts it as 5 grams. So you can’t “save” money by making a tiny piece and using less silver. It’s a flat included weight idea, not a measured-by-your-design exact cost.
If you exceed 5 grams, you’ll pay an additional IDR 85,000 per extra gram. The class is built around that included amount, so your best money move is to pick a design that fits the typical weight range for what’s offered.
Stones cost extra
Adding gems or stones can add an extra charge. That’s normal for jewelry-making, but it’s good to treat it like a separate decision, not a guaranteed inclusion.
Bring cash for extras
They also advise you to prepare cash for excess silver charges. If you want to avoid stress, set a small buffer so you can say yes to a design upgrade without pausing the workshop.
Is it good value?
For many people, the answer is yes because the $28 covers the whole “experience package” plus a take-home piece. You’re not paying for a pass at a studio; you’re paying for silver, instruction, tools, and finishing. The only surprise is when you go beyond the included silver weight or add stones—so just plan your design with the 5-gram cap in mind.
Meeting the silversmith: guidance without taking over
One of the strongest themes in the feedback is the way the staff manages balance: help when you need it, but don’t erase your role. You’ll see it in how guests described their guides: patient, attentive to detail, and focused on getting a finished piece that matches what the person wanted.
Names come up often in the notes people left:
- Nano (people credited him with helping create what they envisioned)
- Pasta (frequently mentioned as supportive and idea-sharing)
- Wayan Ino (praised for clear basics and gentle instruction)
- Dek Edi and Kadek Ber (called out as kind, helpful, and precise)
That matters because jewelry-making is both technical and picky. Small choices—shape, alignment, and polishing—change how the ring or pendant looks. The staff attention to detail is part of why guests were happy with the end result.
Language help
The instructor can work in English, Indonesian, or Malay, so you should be able to communicate your preferences without turning it into a guessing game.
What to wear and bring so you can actually enjoy it
This is a hands-on metalwork activity, so you want clothing that plays nice with a workshop environment.
Wear comfortable clothes you don’t mind getting slightly messy
You’ll want comfortable clothing suitable for crafting activities. Avoid anything too precious or delicate that you’d worry about getting dust, polish residue, or small workshop stains.
Consider bringing:
- A plan for ring size if you’re making something that needs to fit.
- Cash for any potential extra silver or stone fees.
- If you have an old silver ring you care about: you may be able to get polishing attention (not guaranteed, but it’s been offered).
No prior experience needed
This is beginner-friendly. If you can follow instructions and you’re willing to focus for a short time, you’re in the right place.
Who should book this workshop near Monkey Forest
This class is a great fit if you:
- Want a memorable Ubud activity that isn’t temple-only or hike-only
- Like making gifts that feel personal
- Enjoy step-by-step instruction and learning by doing
- Prefer a small-group feel (small group available)
It’s also a solid choice for couples. People talked about making matching rings and working on each other’s designs in a way that felt special.
If you’re traveling with kids
It’s not suitable for children under 6. If your child is older, you’d still want to check how the workshop pace fits their attention span, but based on the published minimum, plan carefully.
Should you book this silver jewelry class in Ubud?
Book it if you want a hands-on Bali souvenir with real metalwork steps and a finished piece that you’ll wear, not just display. The included silver (up to 5 grams), the guided process, and the take-home result make the $28 feel grounded—especially compared with typical “craft demos” where you do very little.
Skip it (or pick a simpler design) if:
- You’re looking for a deep, theory-heavy course you can continue at home.
- You’re hoping to build a very complex design that pushes beyond the 5-gram silver limit.
- You don’t want to think about extra costs for stones or extra silver.
If you’re in Ubud and you want something creative near the Monkey Forest area, this is one of those activities that gives you a story you can physically hold.
FAQ
How long is the silver jewelry making class?
The class runs from 90 minutes to 3 hours, depending on the jewelry design you choose.
How much silver do I get for the price?
You receive up to 5 grams of silver, depending on the jewelry design. If your piece uses less, it’s still accounted for as 5 grams.
What happens if I want more than 5 grams of silver?
If your total silver weight is over 5 grams, there’s an additional fee of IDR 85,000 per gram.
Can I choose my own jewelry design?
Yes. You’ll look through a provided catalog book of designs and can choose among example styles. If your design fits within the time limit, you may be able to create a unique version.
What kinds of jewelry can I make?
You can make options such as rings, earrings, pendants, bracelets, or safety pins (depending on your design choice).
Do I need any experience to take the class?
No. The class is suitable for all skill levels, and no prior experience is required.
What languages are the instructors?
Instruction is available in English, Indonesian, and Malay.
What’s included and what costs extra?
Included: class time, instruction, tools and materials, up to 5 grams of silver, snack and mineral water, free Wi‑Fi, and you take home the finished piece. Extra charges may apply for adding gems or stones, and for silver beyond 5 grams.
More Ubud Tours We Rate





Make Your Own Silver
Into the Monkey Forest



Just added around Ubud
- Ubud: White Water Rafting with visit Ubud Monkey Forest
★ 5.0 · 3 reviews - Private Guided Bali Car Charter
★ 5.0 · 3 reviews - East Bali and Lempuyang Temple Tour
★ 5.0 · 3 reviews - Bali Downhill Cycling and White Water Rafting
★ 5.0 · 3 reviews - Cave Tubing Adventure in Ubud
★ 5.0 · 3 reviews
Monkey Forest Tours, compared.
 ★ 5.0Monkey Forest, Jungle Swing, Rice Terrace, and Water TempleFrom $317,160 reviews
 ★ 5.0Full-Day Rice Terrace, Monkey Forest & WaterfallFrom $232,634 reviews
 ★ 4.7Monkey Forest, Ceking Rice Terraces and More– Full DayFrom $37917 reviews
 ★ 4.8Sacred Monkey Forest Sanctuary Ticket and Guided TourFrom $16675 reviews
 ★ 5.0Ubud Tour with Monkey Forest Waterfalls Temples and MoreFrom $30495 reviews
 ★ 4.8Monkey Forest Sanctuary & Jungle Swing TourFrom $16360 reviews
 ★ 5.0Gorilla Cave ATV Bali Ubud, Monkey Forest, Temple, and LunchFrom $75295 reviews
 ★ 4.9From Bali: Saraswati Temple, Monkey Forest, Ubud WaterfallsFrom $34263 reviews
Browse the lists this tour appears in