
Reviewed · SILVER JEWELRY CLASSES
Bali’s Hands-On Silver Jewelry Making: From Design to Shine
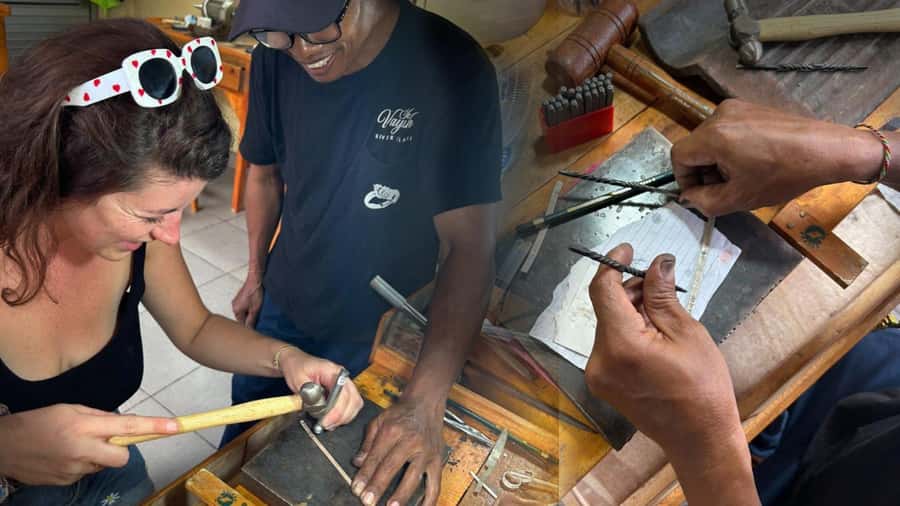
Silver rings, made your way. This hands-on Bali workshop is interesting because you design the piece yourself and then work it with local silversmiths in Ubud or Sidemen. I like that it starts with ideas and turns them into something wearable, guided step by step.
The best part for me is the focus on learning the craft, not just watching. You finish with a real, personalized keepsake—built from included high-quality silver—so your time in Bali doesn’t end when the lesson does.
One consideration: if you go bigger than the included amount, costs can climb. Extra silver is 50,000 IDR per gram beyond what’s included, and you also might not get any unused silver back, so plan your design accordingly.
In This Review
- Key takeaways
- Bali’s Silver Workshop Basics: Design to Shine, the Practical Way
- Ubud vs Sidemen: Pick the Workshop Setting That Fits Your Mood
- What Happens During the Class: From Sketching Silver to Finishing Your Piece
- 1) Welcome and Balinese silver know-how
- 2) Design time: sketch your own jewelry plan
- 3) Hands-on craft: shape, add details, and refine
- 4) Completion: the keepsake moment
- Price and Silver Math: How the $49 Works for Real Value
- Instructor, Language, and the Private-Group Advantage
- Setting Yourself Up to Enjoy the Workshop
- What to bring
- What not to bring
- Comfort and safety reality check
- How to Choose Your Design So the Cost Doesn’t Surprise You
- Who This Workshop Is Best For (and Who Might Skip It)
- Should You Book This Bali Silver Jewelry Workshop?
- FAQ
- How long is the silver jewelry workshop?
- What’s included in the $49 price?
- What happens if I use more silver than the included amount?
- Where do I meet for the class?
- Is the class taught in English?
- What should I bring and wear?
Key takeaways
- Ubud or Sidemen location choice lets you match the workshop mood to your day—art center energy or countryside calm
- You sketch your own design before tools ever touch silver
- 3–7 grams of silver included (based on your design) helps control the price
- A private group means more attention from your English-speaking instructor
- Your finished ring or jewelry comes home with you as a true souvenir
- Extra silver fees apply if you want more grams than the included allocation
Solder your own Balinese silver ring near the Monkey Forest.
- Hands-On Silver Jewelry Making Near Ubud’s Monkey Forest★ 4.9 · 1,789 reviews
- Canggu: Bali Turtle Silver & Gold Workshop★ 4.9 · 643 reviews
- Ubud: Alas Arum Silver & Gold Workshop★ 4.8 · 379 reviews
- Ubud Silver Artistry Class: Create Unique Jewelry in Bali★ 4.9 · 374 reviews
Bali’s Silver Workshop Basics: Design to Shine, the Practical Way
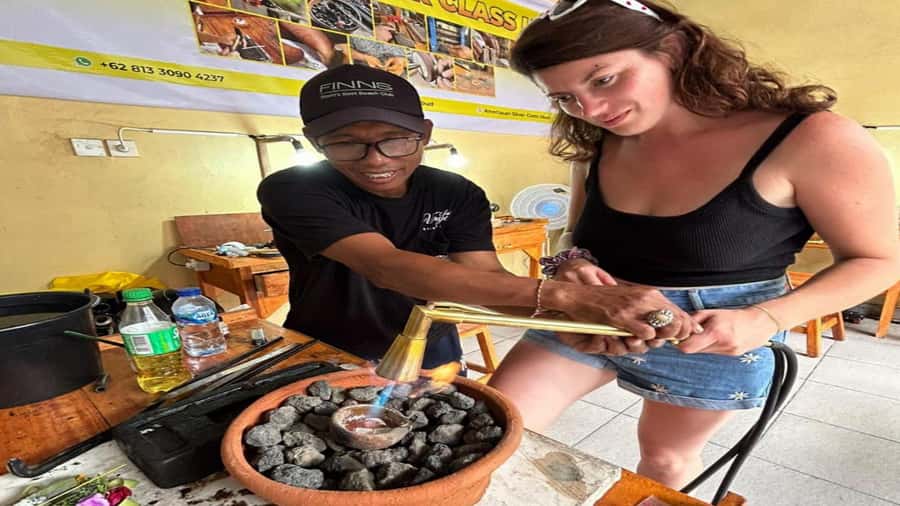
This is a working silver class. Not a show. Not a quick photo stop. You’ll spend your time making something you actually wear.
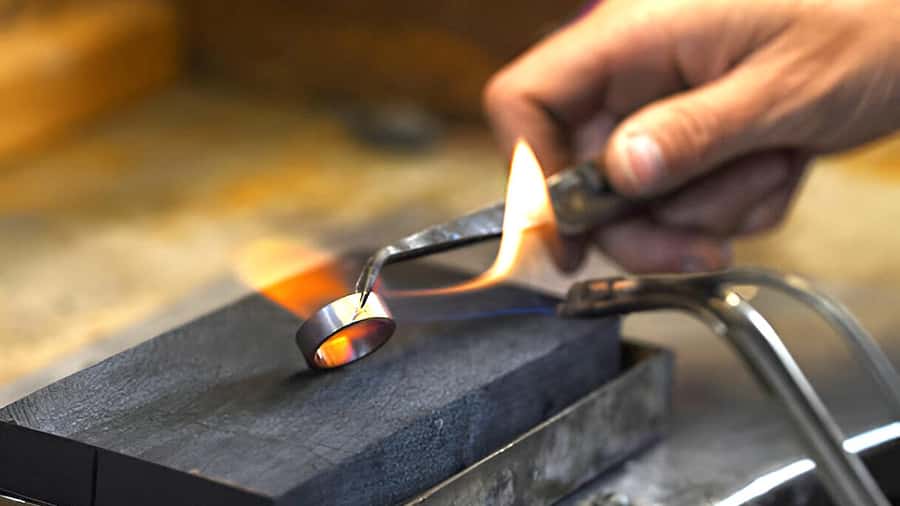
The workshop centers on traditional Balinese techniques, taught by an experienced Balinese silversmith. You’ll start with context—where these methods came from and why the details matter—then you move into hands-on creation. The goal is simple: leave with a piece you designed, not a generic item someone made off-camera.
I like that you’re not forced into one style. You’ll pick from available design options and inspirations, then sketch your own plan. That sketch becomes the blueprint for how the silver gets shaped and finished.
Ubud vs Sidemen: Pick the Workshop Setting That Fits Your Mood
You can do the class in Ubud or in Sidemen, and the area you choose changes the vibe more than you might expect.
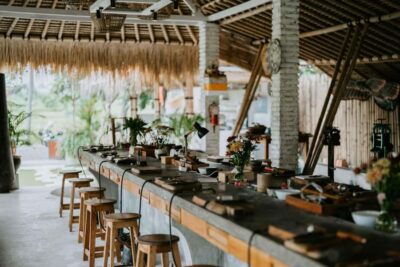
In Ubud, you’re in the heart of Bali’s well-known art scene. Expect an atmosphere where creative work is normal, not special. If you like being around activity and landmarks, Ubud can make the workshop feel like part of a bigger creative day.
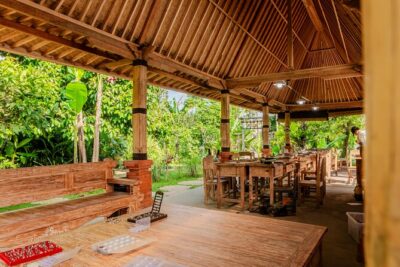
Sidemen is the opposite mood. You’ll work with countryside views—rice fields and mountains in the background—so the class can feel more like focused craft time. If you want a slower pace and calmer surroundings, Sidemen is a strong choice.
Both locations are meant for making, not sightseeing. Still, the setting matters because you’re there for about 2 hours total, and you’ll feel the difference the whole time.
What Happens During the Class: From Sketching Silver to Finishing Your Piece
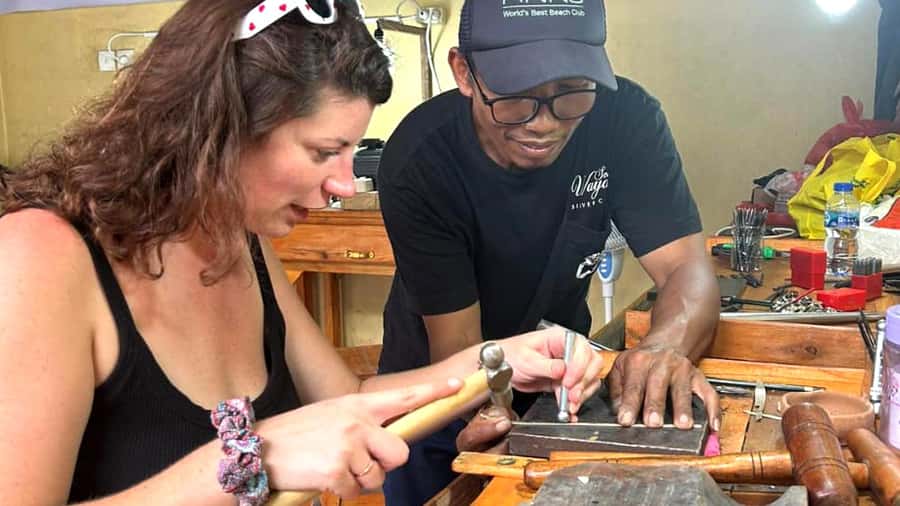
Plan on a total experience time around 2 hours, with the hands-on jewelry-making part running roughly 1–2 hours depending on your design and how complex you get. The class includes a welcome drink, then you settle in and start creating.
Other Ubud tours and experiences to line up next
1) Welcome and Balinese silver know-how
You’ll get a warm arrival welcome and an introduction to silver craftsmanship in Bali. This isn’t just trivia. The instructor explains the cultural significance and the traditional techniques passed down through generations, so you understand why certain steps exist.
This stage is also when you can ask questions about your design. If something in your idea seems tricky—like proportions or detail placement—this is the moment to adjust.
2) Design time: sketch your own jewelry plan
Next comes the creative part: you sketch your design and choose your style direction. You’ll work with the guidance of a Balinese silversmith, so it’s not sink-or-swim.
Even if you’re not artistic, you’ll have options. The goal is to choose a design that matches the time you have and the silver allocation you’re working with.
3) Hands-on craft: shape, add details, and refine
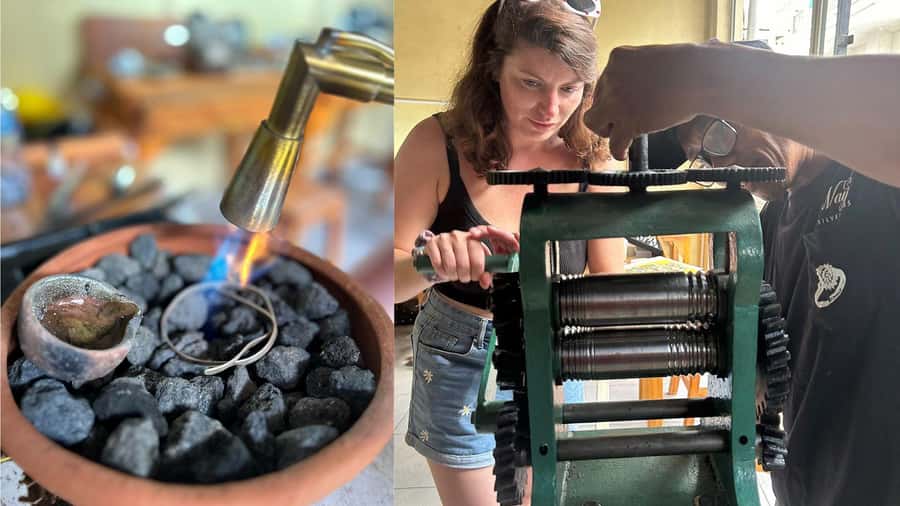
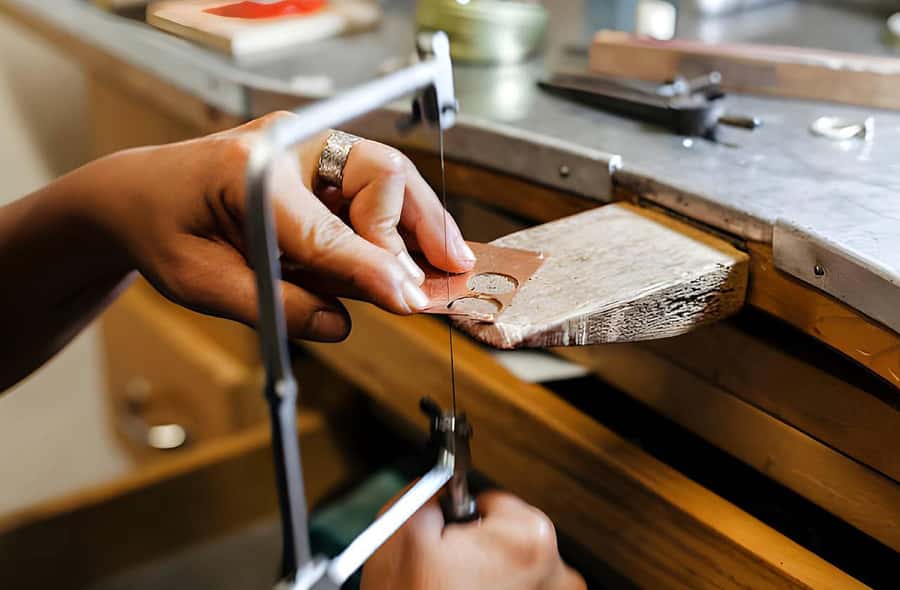
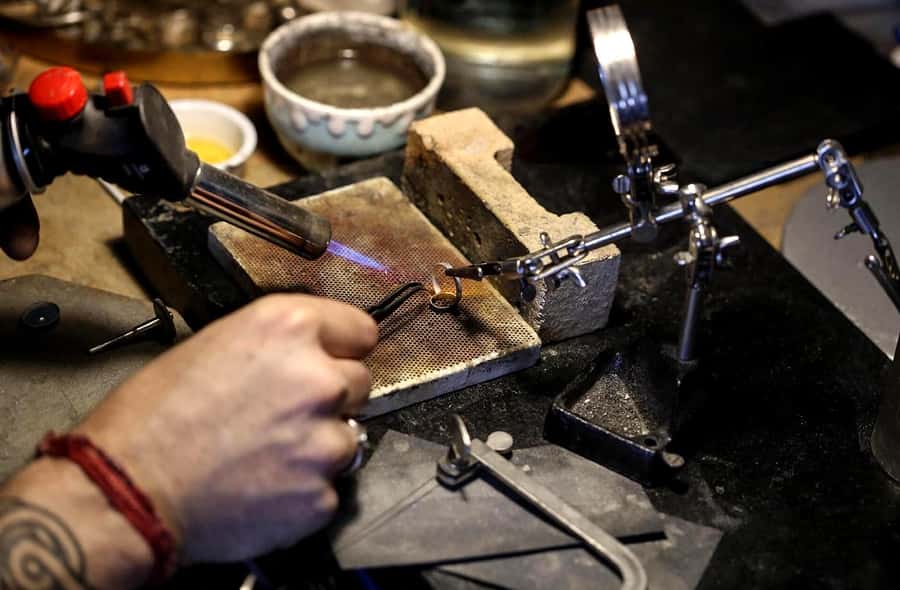
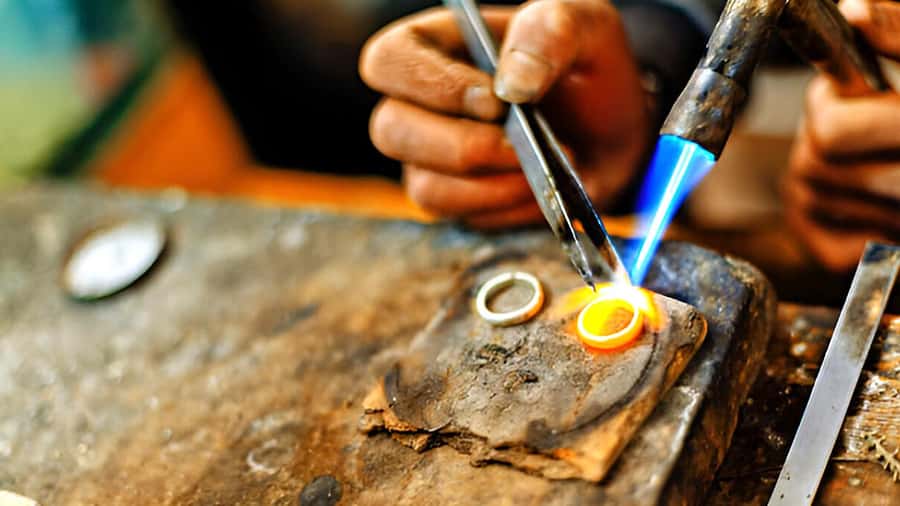
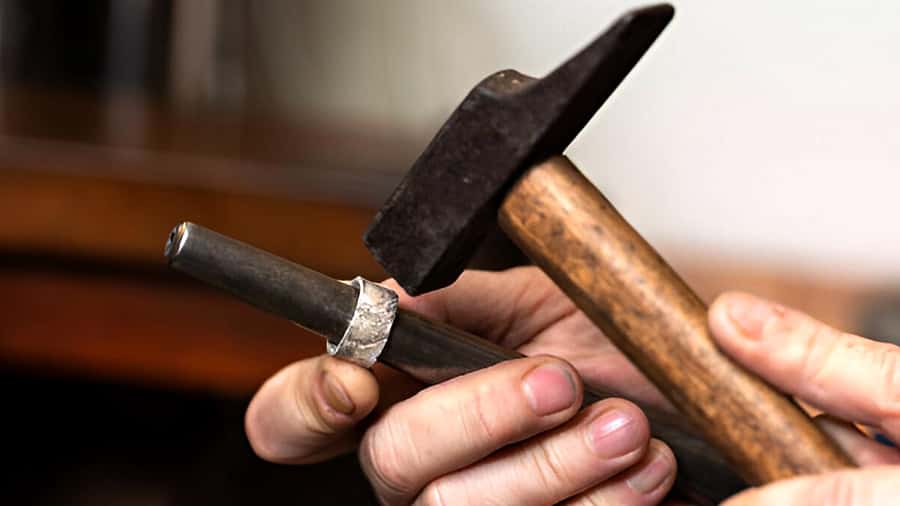
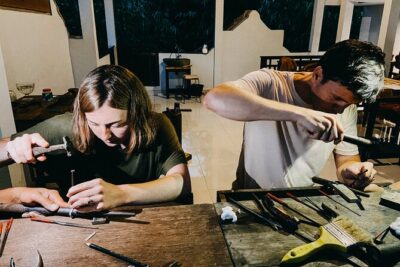
Then the workshop turns into actual metal work. You’ll learn the tools and methods used in Balinese silverwork and put them to use under professional guidance.
This is where you go from drawing something to understanding how it feels to shape it. You’ll work through the steps needed to form the piece, add details, and refine it into something that looks intentional, not homemade-in-a-bad-way.
4) Completion: the keepsake moment
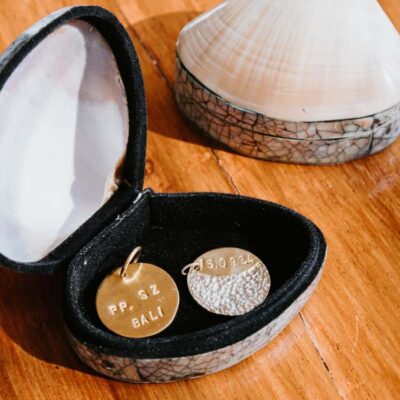
You finish with your handcrafted jewelry piece to take home. This matters, because the “souvenir” is the whole point. You’re not leaving with a bag of trinkets. You’re leaving with something personal, made by your hands, with artisan support.
The final result can vary based on your design choices and how much time you spend refining details. If you love the process, it’s easy to get focused and keep going.
Price and Silver Math: How the $49 Works for Real Value
The price is $49 per person, which is fairly approachable for a workshop where you take something home. The value depends on your design and how much silver you use.
Here’s the key part: your included silver amount is 3–7 grams, depending on the design you choose. That means the workshop isn’t only paying for labor—it’s also covering a specific amount of material.
If you want a larger piece, silver beyond the included allocation costs 50,000 IDR per gram. So if you’re imagining a chunky ring or a design with lots of surface detail, decide early whether you’re okay paying extra.
There’s also a rule around silver weight that affects cost planning. Silver jewelry under 7 grams can be charged a flat fee, so don’t assume that using less silver automatically reduces the price. And if you want more than one design for a single person, there’s an extra charge.
One more budgeting note from experience-based feedback: in at least one case, the leftover silver was not returned. The workshop doesn’t frame it that way in the basic pricing info, but it’s a reasonable thing to expect when materials are allocated and the class controls outputs. If you’re trying to maximize your silver per dollar, choose a design that uses what’s included.
Instructor, Language, and the Private-Group Advantage
The instructor is English-speaking, and for non-English speakers there’s additional help through audio guides or translation apps. You’ll also share your WhatsApp number during booking, which usually makes coordination smoother.
Because this is a private group, the pace is easier to manage than in a crowded class. You get more individual attention while you sketch, while you work, and while you figure out what to adjust before you commit to the next step.
Some classes are simply smaller in practice. One review mentioned being just the group, away from the busier parts of Bali. That lines up with the private-group setup and is exactly why this type of class feels comfortable: you’re not rushing around to keep up.
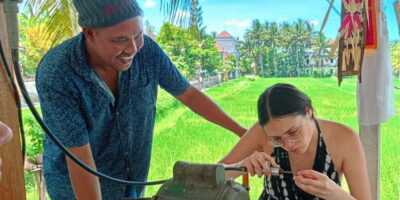
One instructor name that pops up in feedback is Putu. In at least one shared experience, he was described as happy, smiley, and helpful—exactly the kind of teacher you want when you’re learning tools for the first time.
Setting Yourself Up to Enjoy the Workshop
This class is hands-on, so a few practical choices make the difference between fun and fussy.
What to bring
Bring a camera if you want process photos. Wear comfortable clothes you don’t mind getting a bit involved (you’re working with metal and tools). Bring cash, since the workshop rules include cash as a recommended item.
If you’re the type who likes documenting your day, you’ll want to photograph stages—design sketching, tool use, and the final piece.
What not to bring
The workshop explicitly says no alcohol and drugs. Keep it straightforward so you can focus on the craft.
Comfort and safety reality check
The workshop isn’t suitable for children under 7 years and it’s not set up for wheelchair users. Silverwork can involve a level of physical movement and tool handling that requires standard accessibility.
How to Choose Your Design So the Cost Doesn’t Surprise You
Before you pick a final look, think about two things: grams and time.
If you choose a design that naturally fits within the included 3–7 grams, you’ll avoid most of the extra silver costs. If you want something heavier or more detailed, understand you may pay 50,000 IDR per gram beyond what’s included.
Also consider how many adjustments you’ll want to make during crafting. You’ll get guidance, but the class time is limited. A simple design can be more rewarding if it lets you enjoy each finishing step instead of rushing toward completion.
If you’re unsure, treat your sketch as a draft. Use the instructor guidance to tighten it into something that’s both beautiful and realistic for the workshop window.
Who This Workshop Is Best For (and Who Might Skip It)
This is best for people who want a real Bali craft experience with an outcome you can wear. If you like making things with your hands, you’ll likely find this satisfying because you’re doing the steps yourself.
It also works well if you enjoy learning cultural craftsmanship. The class explains the traditional techniques and why they matter, so it’s not just “use this tool, move on.”
Skip it if you’re expecting a laid-back, purely observational activity. This is guided work, and you’ll be hands-on the entire time.
Also skip if accessibility needs don’t match what the workshop supports. Children under 7 and wheelchair users are not suitable per the provided information.
Should You Book This Bali Silver Jewelry Workshop?
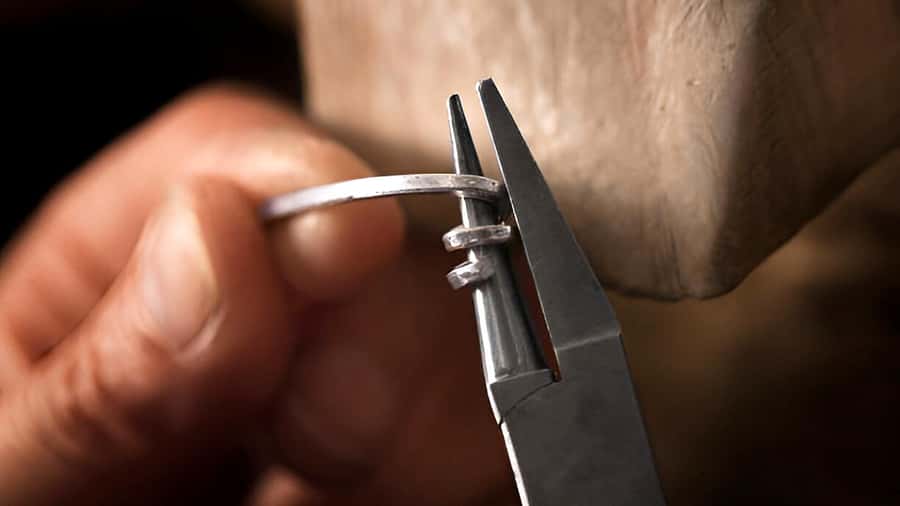
If you want a personalized handcrafted silver keepsake and you’re okay paying attention to silver weight, I’d say this is a strong value. The $49 price makes sense because you’re taking home a real piece, and your silver allocation is included upfront.
Book it if you can match your expectations to the rules: choose a design that fits within the included grams, wear comfortable clothes, and show up ready to work with tools. If you’re careful about your design size, you’ll keep the experience fun instead of turning it into a budget puzzle.
If you want a souvenir but don’t want to think about grams, pick a simpler design. And if you’re sensitive about getting materials back, remember that the workshop controls the silver allocation and may not return leftovers.
FAQ
How long is the silver jewelry workshop?
The experience is listed as about 2 hours, with the jewelry-making time typically running 1–2 hours depending on your chosen design and creativity.
What’s included in the $49 price?
You get a guided workshop, a welcome drink, materials and professional tools, and a handcrafted jewelry piece to take home. Included silver is 3–7 grams based on your selected design.
What happens if I use more silver than the included amount?
Additional silver costs 50,000 IDR per gram beyond the included 7 grams. There are also notes that silver under 7 grams may be charged a flat fee, and using more than one design for the same person can cost extra.
Where do I meet for the class?
The meeting point is Amertasari silver class in Ubud (as listed on maps). The information also notes that there is no transportation provided, so you’ll need to get yourself there.
Is the class taught in English?
Yes. The instructor is English-speaking, and audio guides or translation apps are available for non-English speakers.
What should I bring and wear?
Bring a camera, cash, and comfortable clothing. The workshop also notes that alcohol and drugs are not allowed.
Hands-On in Ubud


More Ubud Tours We Rate





Make Your Own Silver
Just added around Ubud
- Ubud: White Water Rafting with visit Ubud Monkey Forest
★ 5.0 · 3 reviews - Private Guided Bali Car Charter
★ 5.0 · 3 reviews - East Bali and Lempuyang Temple Tour
★ 5.0 · 3 reviews - Bali Downhill Cycling and White Water Rafting
★ 5.0 · 3 reviews - Cave Tubing Adventure in Ubud
★ 5.0 · 3 reviews
Silver Jewelry Classes, compared.
 ★ 4.9Hands-On Silver Jewelry Making Near Ubud’s Monkey ForestFrom $281,789 reviews
 ★ 5.0Ubud Silver Class Jewelry making in baliFrom $36978 reviews
 ★ 4.9Canggu: Bali Turtle Silver & Gold WorkshopFrom $49643 reviews
 ★ 4.8Alas Arum Silver & Gold WorkshopFrom $46379 reviews
 ★ 4.9Ubud Silver Artistry Class: Create Unique Jewelry in BaliFrom $30374 reviews
Ubud Monkey Forest Silver Class – Craft Your Own Silver JewelryFrom $41254 reviews
★ 4.9Ubud Silver Artistry Class: Create Unique Jewelry in BaliFrom $30374 reviews
Ubud Monkey Forest Silver Class – Craft Your Own Silver JewelryFrom $41254 reviews
 ★ 5.0Ubud Bali Silver Jewelry ClassFrom $50163 reviews
 ★ 5.0Ondox Silver Class and jewelry UBUDFrom $30132 reviews
Browse the lists this tour appears in